
Homebrewing is full of strange and mysterious terms and pieces of kit, and the mash tun is no exception. You’ve probably read about it online or even see people briefly refer to one on a youtube video, but you are still in the dark about it, right?
Well, what exactly is a mash tun and how do brewers use them?
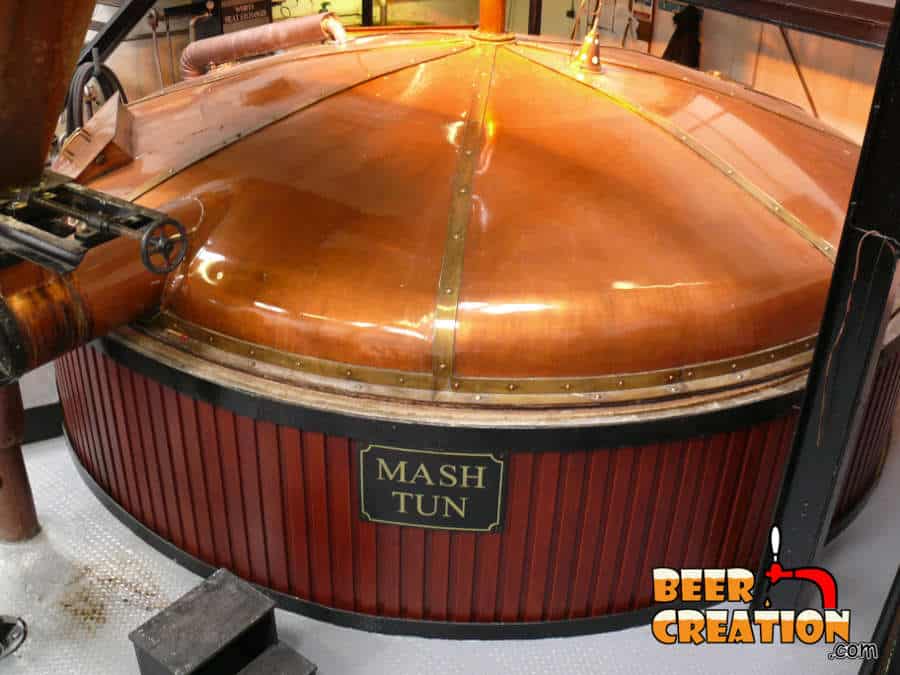
A mash tun is a vessel made either from metal or plastic that is specially designed for the mashing process in brewing where grain starch is converted into sugar. It is often isothermally-designed with a built-in filtering shelf at the bottom as well as a faucet or spigot for draining the wort out.
If you are just learning about what a mash tun is, then stick around because in this article I go into everything you need to know about this specialized piece of kit and whether or not you really need one. So let’s get started!
How do you pronounce mash tun?
It sounds simple enough but it’s a valid question. You don’t want to go into your local brew shop and make a complete fool of yourself by not speaking the local lingo. To be fair though, the brewing community is quite forgiving as a rule.
Anyway, ‘mash tun’ is pronounced as ‘Mash = mashed potatoe” and ‘ton = 2000 pounds/1000 kg’.
So now that we agree on how to say it, what exactly is a mash tun and what’s it for?
What is a mash tun for?
So, a mash tun is only really something you need to worry about if you are getting into all-grain brewing. This is a process where you start with raw malted grains and then heat them to extract the fermentable sugars you need to turn water into beer ( called mashing). If you are solely brewing using extract kits then a mash tun isn’t something you need to ask Santa for this Christmas.
Mashing
Mashing is the name we give to the process of transforming the starches present in both malted and unmalted grains (wheat, rice, corn, etc.) into usable sugar. Without these fermentable sugars, beer simply would never exist, so it’s quite an important step you could say.
In very brief terms, mashing is achieved by raising the temperature of these grains in water to around 148°F-158°F (depending on the recipe) and keeping it there for around 60 minutes. During this time enzymes naturally, present in the grains will be activated and start converting the starches for the brewer.

The mash tun
Basically, the mash tun is a vessel that solves three problems for the brewer, ones of heat retention, filtration, and wort collection. So although you would be right in thinking you can use any old pot to mash in, your average run-of-the-mill stock pot doesn’t live up to the full service performed by even the most basic of mash tuns.

Heat retention
The Mash tun is designed to be as heat efficient as possible (depending on the materials you pay for) and will maintain the temperature through the insulation it has around the exterior of the tun.
Unlike with a conventional stock or boil kettle, you don’t have a heat source you can turn on or off when using a mash tun, so make sure your strike water is 10-15° F higher than your mash temperature. Also, make sure that you slowly add your grains to the full complement of strike water in the mash tun stirring them slowly to get an even heat.
Filtration
After you have actually mashed your grains you want to extract the wort from them as efficiently as you can ensuring you take all the fermentable sugars with you that you can. A mash tun is also designed to help you with this.
Most decent mash tun designs will come with a built-in ‘false bottom’ which is just a perforated metal dome. It’s designed to allow the wort to pass through it and out through the spigot while the grain is left above the filtration plate.
This is desirable because you really don’t want any grain material to get into your boil as grain which is heated about 170°F (77°C) will release tannins into your wort and affect the overall flavor.
The false bottom is also a godsend when it comes to the next stage in all-grain brewing, lautering (including sparging). If you aren’t familiar with these terms then check out my full article on lautering and why it’s so important for all-grain brewing.
Wort Collection
If you have just started brewing or you are moving away from store-bought extraction kits it’s likely that you are still using a conventional stockpot for your hot brewing.
The disadvantage of working with pots like this is that you have to manually pour out water and wort from container to container. It’s not only heavy lifting, but there is also always the added danger of getting scolded by hot liquid or worse, spilling precious wort over the kitchen floor!
A mash tun eliminates all this work and danger because it has a built-in spigot where you can easily drain off your mashed wort into your brew kettle or any other container. It may seem trivial, but after several manual brew days, you’ll be thankful for this small design feature.

What is the difference between a mash tun and a lauter tun?
Truth be told, there is no real difference at all. Basically a lauter tun is just a mash tun who is moonlighting. By this I mean, a mash tun doubles up as one component in a lautering system after it has finished with the job of mashing the grains.
Often when you buy a lauter tun you are buying two main pieces of kit, a hot liquor tank that is used to store your heated water, used for recirculation and sparging and another container to filter this water through a grain bed.
Once you have finished your mashing process you are normally instructed to raise the temperature of your mash to 170°F (77°C). This is called the mashout and is done to deactivate the enzymes we have been using to convert the starch in the grains into sugar. The mashout is the first step in the lautering system.
The next step is to recirculate the wort through the false bottom to prepare the grain bed for the final stage, sparging and is known as the Vorlauf. This is done by collecting wort from the spigot and pouring it slowly through the system again until it runs without too much grain material in it.
Sparging can be done in one of three main ways, the no sparge method, batch sparing and fly sparging. The hot liquor tank is used in all methods and the aim here is to rinse the grain to extract as much sugar as possible from it.
If you would like to learn more about the sparging techniques check out my article on sparging here. If you are interested in the type of equipment you need for fly sparing, I’ve also gone into a lot more detail in this article here.
How big a mash tun do I need?
When choosing the size of the mash tun you want to buy or build, it’s important to think about your present and future uses. Also, you need to appreciate that different recipes use different weights of grain. As this extra mass will affect the capacity of your mash tun, you could be limiting your brewing adventures by underestimating your mash tun needs.
For most new all-grain brewers you are going to be more comfortable with brewing the 5-gallon yields that most popular extract kits are designed for. There is nothing wrong with that, but you may find that your sights are set much higher much sooner than you may think. So, don’t limit yourself to a 5-gallon mash tun, rather go for at least a 10-gallon or 15-gallon capacity.
Remember that in mashing you don’t use the full quantity of water that you need for the boil, but if you plan to double up your mash tun as a lauter tun you’ll need to accommodate that additional sparge water when conducting a no sparge or batch sparge. It’s perhaps not the case so much with fly sparging.
How much grain can I fit in my mash tun?
As I said before, different recipes will require differing quantities of grain which will have to be taken into account when using your mash tun. Below is a quick guide to the maximum capacity of a 5, 10,13, and 15.5-gallon mash tun for grain and strike water combined.

Mash Tun (size) | 5-gallon tun | 10-gallon tun | 13 gallon tun | 15.5-gallon tun |
Max grain capacity (1.25 qt/lb) | 12 lbs | 24 lbs | 31.2 lbs | 37.2 lbs |
Total strike water (gallons) | 3.75 | 9.74 | 9.75 | 11.62 |
Total volume (gallons) | 4.87 | 9.74 | 12.66 | 15.09 |
Mash Tun Equipment
If you are looking to buy a all-in-one kit for both mashing and lautering then you can’t go far wrong with the Northern Brewer Mash Tun & Lautering Kit.
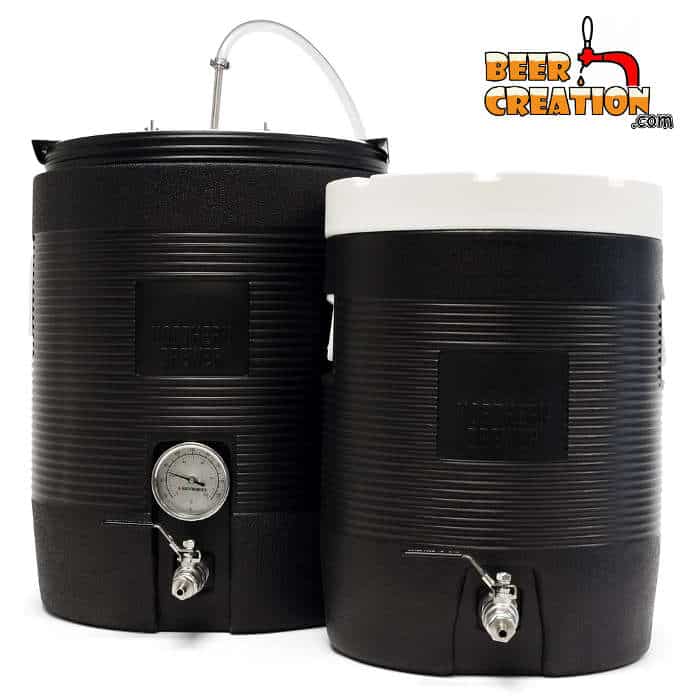
It is made up of two vessels, the mash tun come lauter tun which is well insulated has a false bottom included. The kit also comes with a hot liquor tank and a heavy-duty and adjustable sparge arm which is perfect for fly sparging. I’ve asked around, and there are a lot of brewers who said if they had to buy a kit today this is one of the best and is most widely available. For the best price, I’d recommend that you check out Amazon and benefit from their fast delivery and great deals (even better than on the manufacturer’s website)
DIY Mash Tun
Alternatively, you can build your own mash tun.
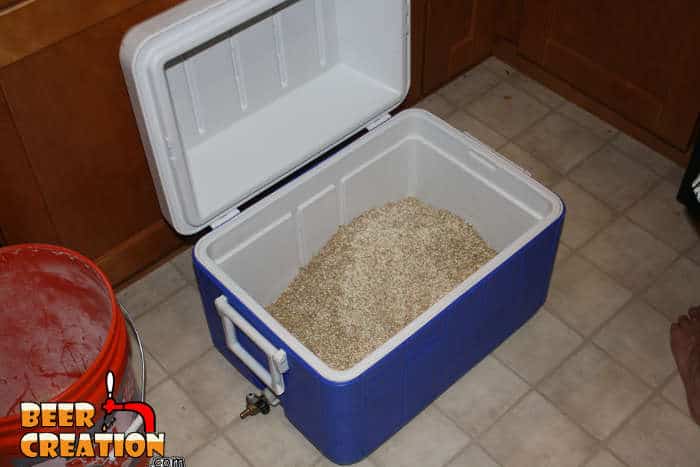
What you’ll need:
- 1 x beer cooler (capacity 5-10 gallons)
- 1 x spigot & O ring seals
- 1 x false bottom (check out Amazon for some reasonable deals on this)
- 1 x drill with a spade bit (diameter depends on your spigot)
Simply drill a hole for your spigot through the side of the cooler leaving half to 1 inch of clearance on the bottom for any organic matter which might make it through the filter.
Then fix the false bottom over the area of the outlet. Depending on the cooler that you use you may or may not have to install some sort of stand for the false bottom to sit on.
Next, test the system using a brewing grain substitute such as oatmeal. Check that the temperature holds at the right level and that you aren’t getting leaking or gain passing through the false bottom. If all seem fine then it’s time for your next all-grain brew!
Do I need a mash tun for a BIAB recipe?
This is an interesting question as the BIAB method (Brew In A Bag) is really one which is designed to cut down on the stages in the average brew, especially the need for lautering.
You can certainly get away with using the same container for both your mash and your boil with a BIAB brew day. However, if you are using a conventional aluminum or stainless steel stockpot or brew kettle, you are going to find heat retention more of an issue than when using a mash tun. Also, although technically you don’t need to lauter the BIAB grains, often you’ll get a lot more efficiency in your sugar extraction if you do.
I’ve gone into a lot more detail on the subject in my article here about sparging and BIAB.
Related Articles
Hopefully, you enjoyed reading this article on mash tuns, and if you did then you may be interested in reading these articles as well.
What Is Lautering? Beginner Brewer’s Guide To Do It Properly
What Is Sparging? Beginner Brewer’s Guide for Better Results
What Is a Sparge Arm & How Does It Improve Your Homebrew?
Thanks very much for reading and don’t forget to check out my YouTube channel and subscribe so that you don’t miss my latest videos and updates. Also, if you are looking to add to your brewing equipment check out my recommended gear page for my suggestions on what to invest in for better brewing.