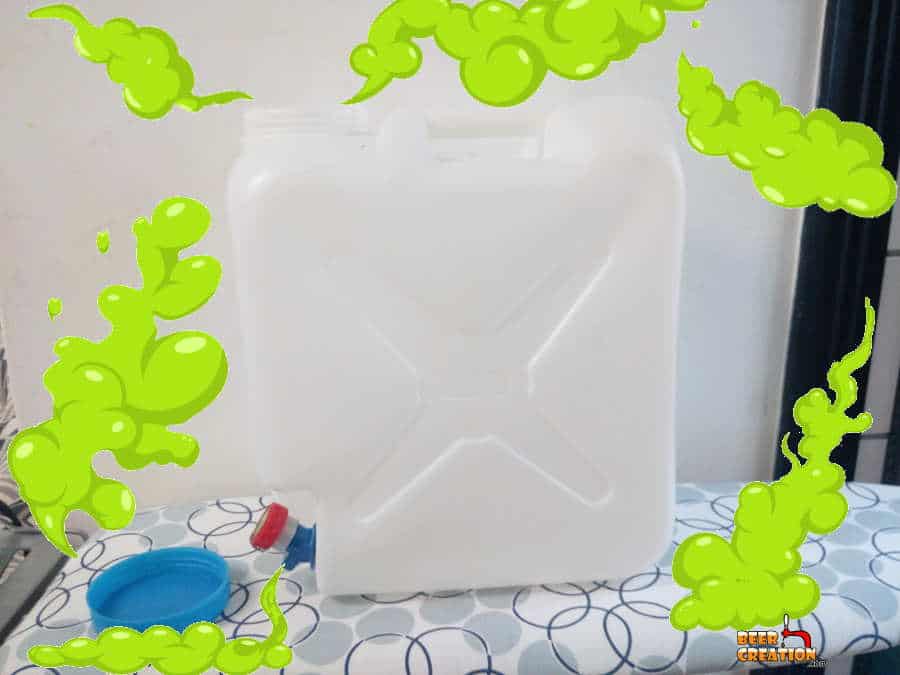
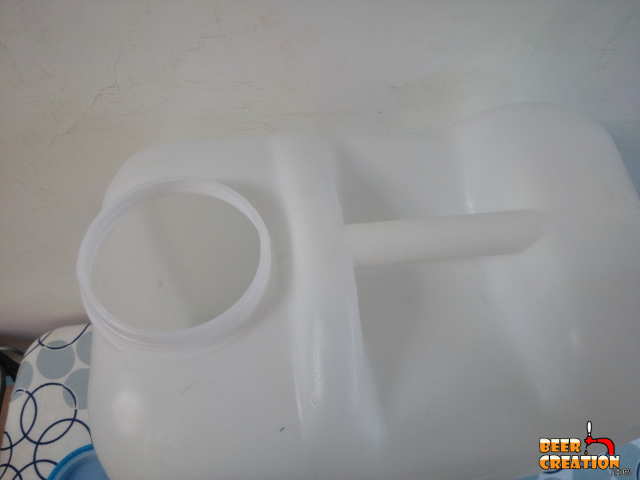
While fermenters come in all shapes and forms, the most common material they are made from has to be plastic. Although it’s a cheap material, it can also come with a distinct odor even when it’s brand-new. Plastic also seems to absorb unwanted smells as well after use, especially when using it as a brewing fermenter.
So, how do you get the plastic or brewing smell out of a plastic fermenter? To get the smell out of a plastic fermenter you first need to neutralize the odor & then remove it. As most organic odor-producing substances are acidic oils, it’s important to use a product that can combat them such as baking soda or bleach. Also, Don’t scrub plastic, lift-off the oil by wiping it.
Below I go through different ingredients and ways to remove the smell from your plastic fermenter, improving a step by step guide of how to go about it. The effectiveness of these steps depends on whether you are dealing with a more industrial odor in a new fermenter or brewing aromas with a used one. I’m sure that whatever your circumstances are, you’ll find that the answer is below.
Getting the smell out using baking soda

Baking soda or Sodium bicarbonate is a great cleaning tool that most brewers have just sitting around their kitchen. It can be very effective in cleaning your brewing equipment, but also in getting rid of the smell in your brand-new fermenter.
Depending on the type of fermenter you have and how much big of an access point you have to it, baking soda could be a fairly low-risk chemical solution. I say this because this stuff is edible and isn’t going to do you any real harm even if you didn’t rinse your fermenter before its next use.
In order to use Baking soda effectively for removing the smell from plastic, you need to get your hands dirty. It works best if you can rub it evenly over the inside of your fermenter with wet fingers to really work it into the plastic. You’ll need at least the best part of one container of baking soda to evenly coat the sides of the average size fermenter
Of course, this isn’t going to be possible with all types of fermenters as you just won’t have the room to get your hand right into the bottom of them. But, if you are using a bucket type fermenter, this will work for you.

New to homebrewing? Please feel free to read my ultimate guide to brewing beer at home and where to start.
Using household detergents
If you don’t have any baking soda or you can’t physically apply it in the best way as described above, you can still raid your kitchen for some useful common household detergents.
diluted bleach and dishwasher detergent are things that most of us have in the home and can both be used for getting the smell out of a plastic fermenter. Also, as a brewer, you may have some PBW (Powdered Brewing Wash) knocking around, which is also a good option. Another ordinary cleaner used by brewers is Oxyclean, and I recommend using the odor-free variety here.
Caution
Make sure that if you are using bleach in any way that you thoroughly rinse out your fermenter several times to remove any last residue before filling it with consumable liquids. Better to be excessive in your rinsing here than too lax.
If using Oxyclean, don’t in any circumstances mix it with chlorine or bleach as you will create some noxious gas at best or cause a small exothermic explosion at worst. So, just be aware of the chemicals you are using and what they can do when mixed with others.
Step by Step guide.
Step 1 – Neutralize the smell
Using a base such as baking soda, bleach, dishwasher detergent, PBW, or Oxyclean. For baking soda you really need a good layer sprinkled over the bottom of the fermenter which you then work into the walls with wet fingers. For the other bases, dilute them in the full complement of your fermenter’s capacity.
Step 2 – Leave to settle
Leaving your fermenter with the base coating or soaking in the diluted base will give the chemicals time to work with the acid odor-bearing acids stuck to your fermenter. The chemical reaction between the acidic oils and the base solution will form what are known as ‘salts’
The idea here is to change the chemical nature of these oils so that the resulting salts can be totally removed rather than just masked.
Whenever possible, leave the fermenter for about 24 hours to really give this process time to take effect.
Step 3 – Remove ‘salts’ with solvent
Now that the base has created salts that contain the offensive odors, you can lift them off the surface of your plastic fermenter by using a solvent; a simple dish soap. You could also use distilled water or even an alcohol-based cleaner if you don’t have any dish soap available for some reason.
Again, if you are working with a bucket fermenter and can really get your hands into the bottom, then use a clean soft cloth (not the scrapper side) and wipe off the baking soda. The dish soap actually breaks down the organic molecules while water will later rinse them off.
If you don’t have that much access to the inside of your fermenter, then just empty out the diluted bleach or what have you, and replace it will a healthy amount of dish soap water. Rinse it out a couple of times with soap water to have the same effect as a sponge.
Step 4 – (if the smell persists) Suck up the odor
If this hasn’t worked for you so far, first try repeating the previous steps again. Second, if necessary, try using a product that will absorb the odor. Something like non-toxic kitty litter, charcoal, coffee grounds or even crumpled up newspaper will work. Leave these types of material in your fermenter for a few days and you should notice that the odor disappears, or in some extreme cases is much less oppressive.
Step 5 – Nuke it with UV light
If you still have a smell lingering after all this, then try putting the fermenter outside in direct sunlight. The UV rays, as well as better ventilation, can really help to neutralize the smell. However, this isn’t always an option for people living in certain places and in certain climates. If you have a sunbed in a spacious room, you could see if that works. You never know!
My fermenter still smells, is it really a big deal?
If you have gone through the steps above and you still are getting a slight whiff of something, don’t panic. The fact of the matter is that if you have cleaned and sanitized your fermenter, whether it is new or used, you’ve probably done enough.
You are going to be brewing with ingredients that have fairly distinct aromas and generally these will be strong enough to overpower anything left in your fermenter after the 4 steps I’ve laid out.
It’s very rare that flavor and aroma are transmitted by plastic after having cleaned it in the same way that, say wood, might do. I personally have never had this issue so I would recommend that you proceed with your brew day even if you still smell something funny.
Persistent infection in your beer
If you are trying to de-odorize your fermenter because of several bacterial infections in your beer which have given it an off-flavor, then this may not be enough. Sometimes bacterial infections happen in the fermenter due to the lack of an air-tight seal, a small crack somewhere or just because the bacteria have never successfully been removed.
In these cases when the infection comes back in subsequent batches, consider fully replacing your fermenter as the issue may be impossible to fix. So, if you have followed the 4 steps I mentioned above and it still doesn’t work to remove the odor and off-flavor in your beer, it’s really time to get out your credit card and start shopping.
I hope that this has been helpful and you can remove that annoying smell from your plastic fermenter. It’s worth the extra time and effort to be sure that your next batch of beer won’t have any funny taste!
Happy brewing!


