
Whatever you call them, brew bags, voiles, socks, these essential brewing items getting very messy by the end of a brew. Despite being extremely inexpensive to replace, I personally think you should recycle and reuse brew bags as much as you can.
So how do you clean and even sanitize brew bags and brew socks before use or reuse?
Brew bags used to hold grain or hops can be rinsed in a sink, bucket or even your shower to remove any sediment. Using an empty dishwasher or washing machine is also a good option. It’s unnecessary to sanitize brew bags used in the boiling phase of a brew day but is when dry hopping in a fermenter.
Although it may seem straightforward on the surface of it, just cleaning some material, there are several things to be aware of. Making sure you don’t expose your wort or beer to bacteria is perhaps the most important thing, but also not damaging your brew bag or whites goods used to clean them is another.
In the following article I go through everything you need to know about reusing brew bags, again and again, so stick around to find out more.
Firstly, what is a brew bag?
Ok, let’s just make sure we are on the same page. Brewing bags come in many shapes and sizes and are referred to in different ways.
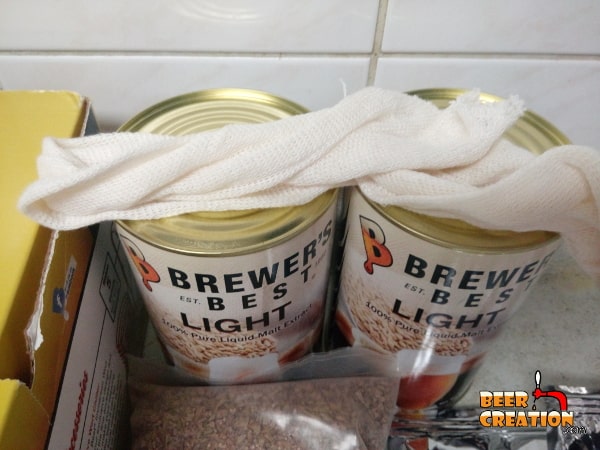
For most of us, we are first exposed to the idea of using a cloth (or other material) bag for brewing when we open our first extract kit which we got from the local brew shop or as a gift. In these kits, we often have to steep the specialty grain provided in order to extract some lovely flavors and aromas into our finished beer. These grains are usually steeped in a mesh grain sock.
If you are getting into all-grain brewing for the first time, you may be using a larger brewer’s bag , especially if you are following the Brew In A Bag (BIAB) method. If you want to find out more about BIAB, check out my full article here.
All of these brewing bags can be reused and, as I said before, should be reused if nothing from an ecological (and financial) point of view.
New to homebrewing? Please feel free to read my ultimate guide to brewing beer at home and where to start.

When to use a brew bag
Steeping grains
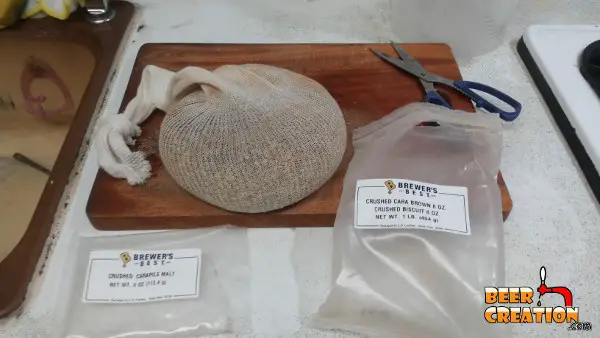
If you are working with a kit you bought locally or online, then make sure that you use a grain sock (usually provided) if you have to work with specialty grains.
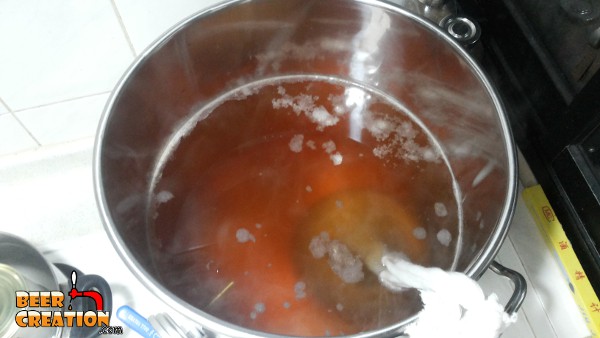
The idea here is to infuse the water you will be brewing with the taste and aroma of the specialty grains you have been provided within the kit. After about 20 minutes you normally need to remove the grain, and this is a lot easier when they are in a mesh bag. Otherwise, you will need to transfer your newly created wort from vessel to vessel.
BIAB
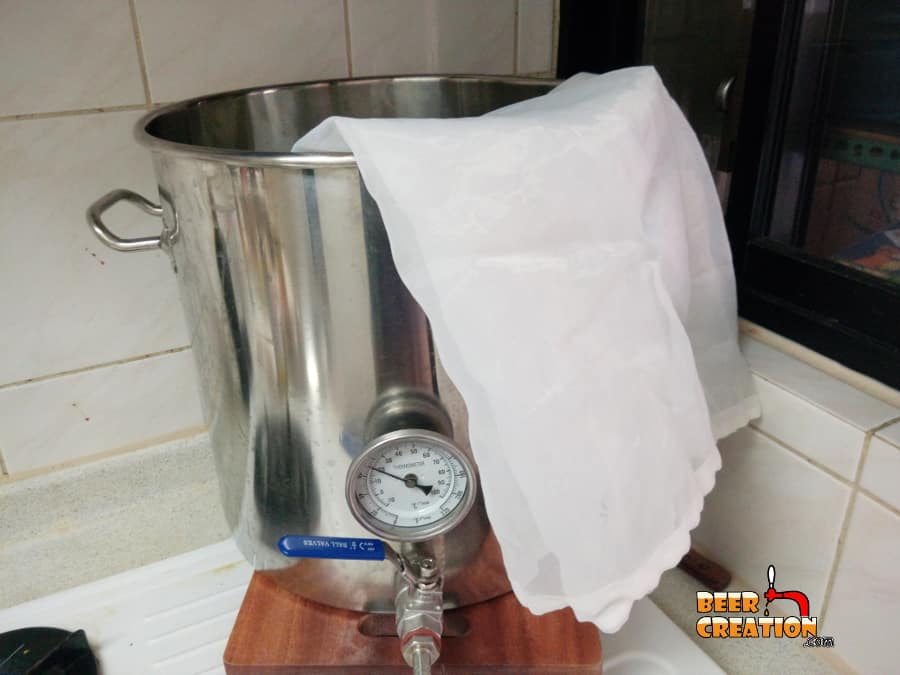
Unlike with more conventional brewing, the BIAB technique mashes all the grain bills in a brew bag or voile which enables you to remove the spent grain more easily just before boiling the wort in the same vessel.
Boiling hops
Although not essential and rarely suggested in beginner kits, putting your hops used in your brew day schedule into bags for the boiling phase can really help you out. Not only does it reduce the amount of trub sitting at the bottom of your boil kettle (and potentially in your fermenter) it also makes it easier to clean your brew kettle as well as making your wort clearer.
Dry-hopping
Again, in most beginner kits that involve dry-hopping, you are told to just pour the additional hops into the fermenter directly. This is fine as they will slowly sink through the beer and settle at the bottom of the fermenter. However, to reduce the amount of trub that might get into your beer, later on, using hops socks or grain bags to hold your hops in during the dry hopping phase is a great time saver for later. (shop for your hops online at homebrewing.org).
Cleaning & Sanitizing Brew bags
Cleaning
If the brew bag you are using is new, whether it’s for grains or hops, then you don’t need to clean it in most circumstances.
Normally the brand new bags will come in some sort of protective packaging, but it’s not a bad idea to give them a rinse in clean water just in case they have become contaminated in some way. However, this being said, it’s highly unlikely that brand new bags are unclean in any way. It’s just my OCD side talking here I guess.
Sanitizing
If you are using a grain bag for mashing or even just steeping then sanitizing them just isn’t an issue. Initially, the fairly high temperature of the mash or steeping process should guard against any later bacterial infection, and it doesn’t then the 60-minute rolling boil which follows certainly will.
The same can be said of using a grain (if repurposing) or hop sock to hold your hops in for the boil. Most kits won’t tell you to do this or even give you the right type of bag, but it’s something that can make your clean up much easier later on. Because the hops are added to a boiling kettle of wort, you don’t need to sanitize them beforehand. This isn’t the case for dry-hopping, but more on that later.
Cleaning brew bag after use
Depending on the crush of your grain or the type of brew bag you used, cleaning them can be tricky. The key thing to bear in mind is that you don’t need to get the bags 100% spotless.

As mentioned before, you don’t need to sanitize brew bags used in the boiling phase of brewing and a few small particles of another malt grain won’t affect the taste of the subsequent beer.
However, you do want to clean the bags as much as possible and do get started as soon as you have stopped using them on your brew day or after racking your beer at the end of fermentation.
By hand
Simply dump out as much of the grains or hops into another container by inverting the bag and giving it a good shake. Don’t forget that you can always use the spent grain on your compost heap or as an ingredient for your pet dog. When cleaning out hops from your brew bags or fermenter, make sure that you don’t spill any near where your dog sniffs around. It’s very, very bad for man’s best friend!
Once you have the bulk of the spent grain or hops out of the bag, you can dunk them in a sink or bucket full of water and give them a good shake to remove as much of the sentiment as you can. After that, hang the bags up in a warm, and ideally, windy place to dry out. When they are dry, you can give them another good shake to try and get rid of any lingering grain or hops particles.
Although this can work, you are sometimes going to leave more grain and hops particles in the mesh bag by dunking it than you would using another method.
With a hose or shower
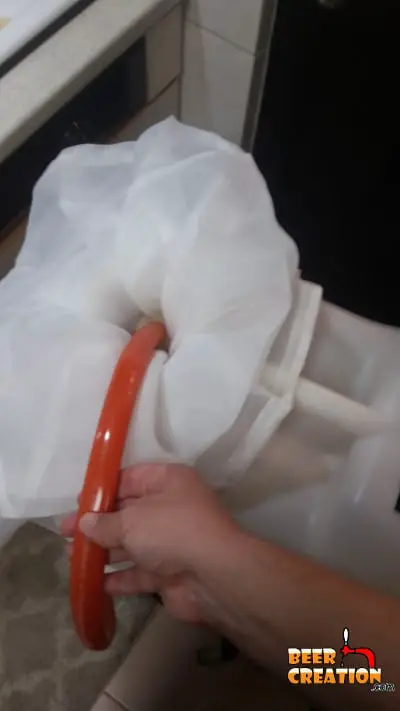
If you have access to a hose in your backyard and someone who can hold the bag, or some sort of washing line to hang it from, this is a great way to quickly rinse off the bags.
Make sure that you turn the bag inside out so that the side which was in contact with your spent grain or hops is on the outside. Then give that bag a good spray until you have removed as much organic material as possible. Then let it dry out naturally.
If like me, you don’t have access to a backyard, then you can do the same thing in the shower. My tip is to have some sort of mesh plug cover so that you don’t clog your drains and make your wife very red in the face. Lesson learned!
In a dishwasher
For those of us lucky enough to have a dishwasher, this is something else you can use. Make sure that you aren’t washing your bags with last night’s chili con carne bowls, in fact, an empty dishwasher is best.
Also, make sure that you securely fasten the bag to stop it getting clogged in the revolving mechanism (I’m sure most models have that, right?). Using plastic zip ties or pegs are a good option, or if you can’t source anything else, weigh the bag down with clean cups or plates.

Although you want the bag clean, don’t use any detergent and especially not any dishwasher cleaner with a strong aroma. It’s highly possible that your beer will taste soapy if you do.
In a washing machine
If you don’t have a dishwasher, you probably have access to a washing machine, although you may not be totally up to speed as to how to use it!
Again, make sure that you aren’t putting your brew bags in with the usual load of washing. For one, you don’t want to fill up your jean pockets with spent grain or hops. Another thing is that you don’t want to cover your brew bags with dog hair or lint (which is the bane of my life!)
Of course, just washing one bag isn’t very ecologically sound, but it may only require a very short cycle and a spin at low temperatures to get a totally clean bag. So, I’ll leave the debate to you.
Just dump it and reuse
Of course, if you really aren’t that worried about introducing traces of other grains or hops into your next brew, you can just dump the material out of your bags and be done with it.
I haven’t done this myself as every fiber of my brewer’s body says it’s wrong, but honestly it probably won’t cause you any problems on your next brew day.
Dry-hopping with brew bags
Unlike when using brew bags or any type to hold hops during the boil, dry-hopping is another story. When you put your bagged hops into your fermenter for dry-hopping there is a small risk of introducing bacteria into the beer. At this stage, fermentation should be over, so the alcohol content of the beer is fairly high compared to when you first racked it a week or more before.
Sanitizing before dry-hopping
So for this reason, it’s best to sanitize your brew bag before dropping it into your fermenter. Of course, the easiest way of doing this is to use a no-rinse sanitizer like Star San (if you can’t get to a brew shop easily, it’s now sold on Amazon, click here for more details). All you need to do is dunk the bag in the sanitizer for around 20 to 30 seconds and you are good to go.
Other ways to sanitize brew bags are to use an iodine solution or bleach solution. However, make sure that you submerge your bags for at least 15 minutes if not 30 and then rinse extremely well in clean water.
I third option is to boil the bags in water and allow them to cool in the liquid until they hit the same temperature as the fermenter. Of course, as they cool down they could be susceptible to bacteria again, so I would always get some no-rinse sanitizer if you can.
Cleaning dry-hopping bags
Just a quick tip with cleaning hops bags which you are using in a carboy. Hops expands when it’s wet, so it can be notoriously difficult to extract through the neck of a carboy when enclosed in a brew bag.
So, tie some string or fishing line to the neck of the brew bag and another one to the bottom corner of the bag and then lower it into the carboy.
When it comes to cleaning your carboy after racking your beer, pull up the bag, open the neck of the bag and empty the hops into the now beer-free carboy and just pull the bag out with the extra string. Then you can rinse out the carboy as normal.
The bag can then be cleaned with one of the methods I’ve mentioned above.
Other uses for brew bags
In my opinion, brewing is all about innovation and working with what you have, especially in the early days. Each brew is a new lesson and we all make mistakes as we develop the skill.
Using a brew bag as a filter
If you only have one brew bag which you maybe bought thinking you needed it but now you only work with extract kits, it could act as a handy filter.
I’ve used brew bags to filter out as much organic material floating in my beer as I can when transferring it into my bottling bucket from the fermenter.
If you have a brew kettle with a spigot, you could also, in theory, boil your entire wort in a brew bag and use it to help you filter out the trub from the kettle as you rack it into your fermenter.
Just make sure that it’s clean and sterilized whenever the bag comes into contain with wort or beer at room temperature.