
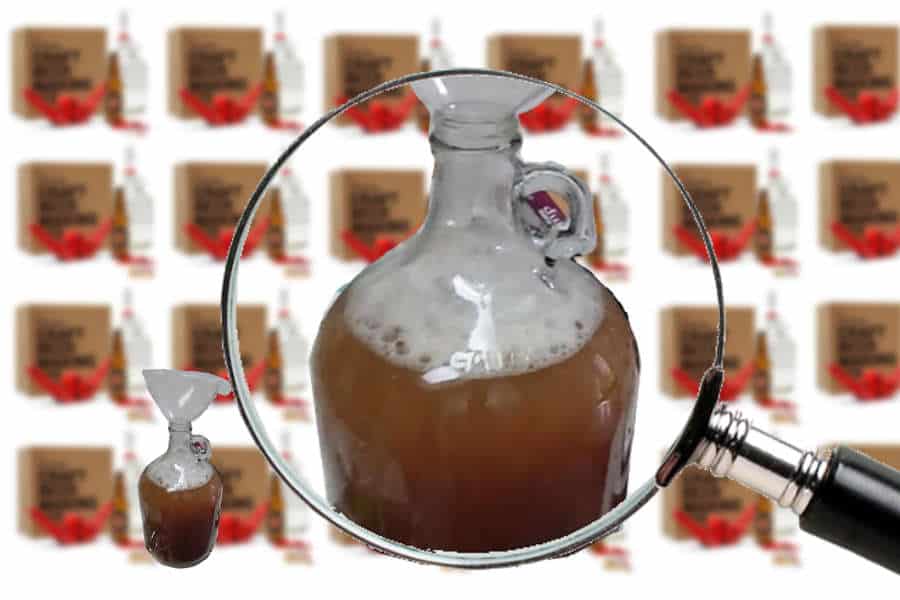
There are many practical reasons for brewing beer on a smaller scale, however, many homebrewers commonly brew a whopping 5 gallons (19l) of beer on every brew day.
In this article, I’m going to explore how you could reduce the size of your brew day yield in order to make the most of your home brewery and skills as a brewer. So, stick around to find out more about small-batch brewing.
Why brew smaller batches?
There are several reasons why a brewer may want to produce less beer for a given brew day. In every case, there are practical constraints, but often it is a conscious decision in order to improve the quality and variety of their beer down the road. So, some of the most common reasons I’ve come across are as follows:
Space
If, like me, have the battle to find enough space in which to brew you a beer, as well as store your brewing equipment, producing smaller batches, can have its advantages. Firstly, you don’t need to take up as much space in storing large pieces of brewing kit. Also, the actual space you need on your brew day is significantly reduced due to the capacity of the kit, kettles or mash tun etc, that you actually need to use.
What’s more, because the yield of your final product is a lot less than the average 5-gallon batch, you don’t need the powerful heating elements that other brewers rely on. Your kitchen stovetop in most cases will suffice. Here is some more information in an article I dedicated to boiling wort in your kitchen.
Cost
Less beer calls for fewer ingredients and less energy to produce. This also means that it’ll cost you a lot less than if you were brewing larger batches. So, for those of us with tighter budgets, small batches are an economical way to get a tasty homebrew without the need to break the bank.
A typical one-gallon starter kit, with equipment included, will cost up to 50% less than a conventional 5-gallon beginner’s brewing kit. That means you can brew up to twice as many times for the same money, but obviously without as much beer at the end of it. Wait, perhaps that’s not a good argument in support of small-batch brewing, whoops!
Quantity
The average 5-gallon batch you get from most recipes or online kits is the equivalent to about fifty-three 12 fl or bottles, forty-eight imperial pints, forty-six 500ml or sixty-nine 330 ml bottles.
Now, that may not seem like a huge challenge if you have a large social group or family members who enjoy a good brewski, but drinking that amount on your own in a healthy way is a tall order.
So, if you are someone who enjoys a decent beer but doesn’t drink a huge amount or on a regular basis, having less beer to polish off is less of a demand on your liver. Also, it’s the question of space and storage in your refrigerator or home, so smaller batches are more convenient here too.

Experimentation
I think perhaps the most common reason for seasoned brewers to brew in small quantities is for the purpose of experimentation. This can apply to develop a beer recipe as well as experimenting with your own palate and appreciation of beer varieties.
Smaller batches mean that if something goes wrong during the development of your beer, you aren’t left with gallons of unpalatable beer. It also means that you can enjoy more than one type of beer when relaxing in the evening after some hard work in the brewery, or even at your job!
New to homebrewing? Please feel free to read my ultimate guide to brewing beer at home and where to start.
Space needed for small-batch brewing
The great thing is that if you are really limited on the space you have for brewing beer, a one-gallon starter kit is easy to make in even the smallest of kitchens.
If you are already set up in a larger home brewery with equipment large enough to brew a conventional 5-gallon yield or more, then you only have to reduce your proportions of ingredients to reduce your batch size. So, I’ll concentrate more on newer brewers who are planning to brew in a confined space.
Personally, at the time of writing this, I only brew in my apartment kitchen which gives me 11.62 ft2/ 1.08 m2 of work surface to play with. I’m hoping that this will change very soon, but it hasn’t stopped me brewing beer in fairly large quantities yet.
One thing which can really change how much space and equipment you need is the recipe you follow. If your recipe is based on a malt extract, then you can cut your equipment list in half. However, following an all-grain recipe means that you need some additional kit for mashing and lautering the grains. If you don’t know much about this process then check out my articles on mash tuns and lautering.
A happy medium is to pursue the Brew In A Bag (BIAB) method which enables you to experience all the thrills of all-grain brewing without the need for extra equipment for mashing and lautering thanks to the brewer’s bag which is central to the technique. For more detailed information about BIAB brewing, check out my full article here.
Tips to improve your small brew day
Tip #1: Know your schedule
Before you even start your brew day, go through each of the steps in your recipes and have it clear in your mind what you have to do and what piece of kit you’ll need.
Although your brew day will take you a few hours, you’ll find that much of that time flies by as you have to be vigilant and watch much of the process closely. This won’t give you a lot of time to read what you have to do next or even plan the most practical way for you to do it. So, read through your recipe or instructions several times before you get started.

Tip #2: Test equipment
Again, this should be done before you start brewing as you want to be sure that everything you are going to use is up to its job. For me the biggest fail I had during my first brew day was with the pots I was using to brew with. I had to juggle my mashing and boil between one pot which was only just big enough to hold the wort and another unsuitable pot to hold my sparge water. It was a nightmare as I had to improvise on the go.
So, boil up the exact amount of water you’ll be using in each part of the brewing process and see if your equipment is up to the task, especially when it’s clear that there is only a small margin to play with. For more information about choosing the correct pot size for your brew kettle, check out my article here.
Tip #3: Organization
Once you know what to do on your brew day and that the equipment you have to hand is going to help you brew your beer effectively, you need to start visualizing your brew day.
Cleaning and sanitizing: layout your equipment on your work surface and see how much space it’s going to take to dry everything out. You may need to sanitize things in a certain order to maximize the space you have available. Also, consider the type of sanitizing solution you have. If you only need to dunk the item you’ll need less space, to fully submerge it you might need a deeper container. Do a dry run of everything.
Following your brew day schedule: plan out what you have to do and then think about what piece of equipment you need during which stage, then lay them out in the order you’ll need them. Often you’ll need to pick something up while putting something down, so think about how you’ll manage your limited space. This can also be done during a dry run.
Tip #4: Negotiate with family or friends
Your brew day will take the best part of an afternoon, or possibly longer if your kit or recipe required extensive lautering. You are going to be very busy for the entire course of that brew day and you don’t want to be competing for space. The worst thing is bumping into a hungry room mater or child while holding hot liquid.
So, make sure that you reserve the space that you need for the time that you need it for. When possible, send your family out for the day or to the in-laws. Alternatively, if space isn’t the issue, you can get your family involved. (Check out my 28 reasons to start brewing for further explanation of why you should do this).
Tip #5: Spare sanitizer
When you are working in a tight space, accidents will happen and you are also going to have to use certain pieces of kit for multiple tasks.
In these cases, keeping a container of sanitizer on hand is ideal as you can just dunk whatever you have dropped or need to reuse into the solution and then rinse it before reuse.
Having this set up before you get into your mashing or boiling phase of brewing is going to be much easier than trying to multi-task for yourself when you desperately need an item and have to fiddle around trying to find the sanitizer again.

Tip #6: Clean as you go
As any good chef knows, having a tidy working area just makes things easier to do their job. So, as much as you can tidy as you go. When you finish with some equipment and you won’t be needing it again, either wash it up or have a dedicated space out of the way to store for cleaning later.
I often have a plastic container box in the corner which I just place all the utensils and pots which I don’t need anymore to maximize my space. It’s so much easier than trying to move something with one hand while losing your grip on a hot pot of wort because you don’t have the space to move it in the disaster zone which is your home brewery. Keep things clean, and you’ll have a stressless brew day every time!
Best 1-gallon starter brewing kits
Northern Brewer – 1 Gallon Craft Beer Making Starter Kit (Amazon)
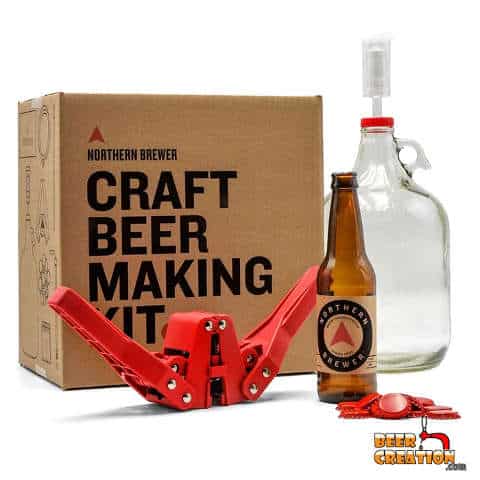
This is a really great little kit to get started on and it comes with most of the kit that you need. This particular kit comes with a glass carboy as a fermenter as well as a mini-auto siphon and red baron bottle capper. For the price, I’d say that is an incredible deal as I’ve bought these things separately in the past for a lot more money and no actual beer kit!
Northern Brewer – All-Inclusive Gift Set (Amazon)
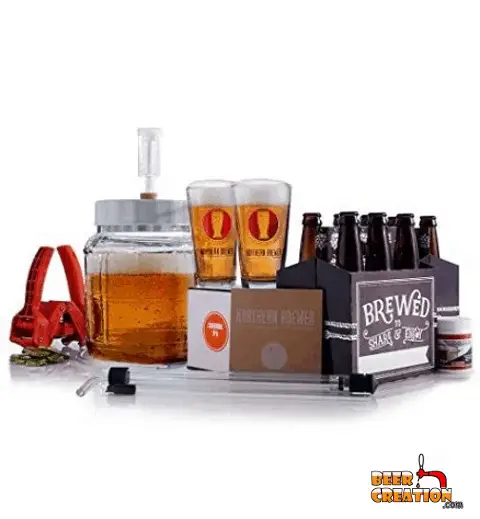
Also by the same company, this is another great little starter kit if you need some brewing equipment to begin your brewing adventure. Again you are given the auto-siphon which makes things so much easier on your brew and bottling days. The kit also comes with the bottle capper too. The only difference with this kit and the first one I mentioned is that it is based around a plastic fermenter and that you are given the bottles you need. So, I think it’s worth the extra money you’ll need to pay!
BrewDemon Craft Beer Kit (Amazon)
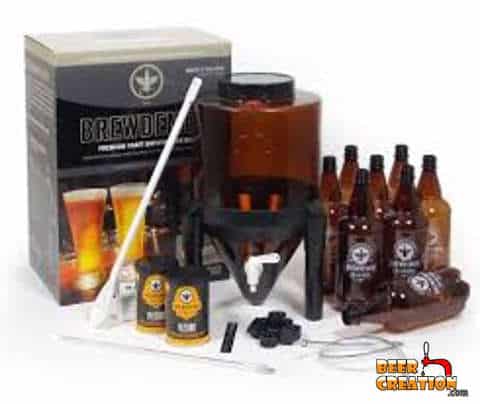
The crowing glory of this kit has to be its very different style of the fermenter. It has a conical shape to limit the amount of trub (sediment) which gets into your bottles of beer. Also, there is a handly little spigot to help you easily transfer your beer from fermenter to keg. This is why you aren’t given an auto-siphon as you won’t need one with this type of fermenter.
Monster Brew Home Brewing (Amazon)

This kit rivals the Northern Brewer’s starter kit which comes with a glass fermenter. The only real difference is that you don’t have an auto-siphon included although you are given a regular siphon tube for racking your beer as well as a thermometer for regulating your mash. The price alone has to place it on this list.
Northern Brewer – Crooked Apple Hard Cider Starter Kit, Makes One Gallon (Amazon)
As a slight deviation on the theme, but this hard cider starter kit is actually a decent investment in a brewing set up. It comes with everything you need to make cider initially, but the same kit could be reused to brew beer later. You get an auto-siphon, bottle capper as well as a primary and secondary fermenter. That’s two fermenting vessels pretty much for the price of one. A great deal if you don’t mind starting your journey with cider, and let’s face it most of us did as teenagers!
Equipment needed for a one-gallon batch
If you purchase one of the kits I recommend above, then there isn’t really much additional kit that you need to buy. Most of the essential tools you’ll need will be readily available around your home. Perhaps the only exception is a mash tun or a brew kettle.
For the most part, you can use the same vessel as a mash tun and a brew kettle when working with a 1-gallon starter kit, but below are the minimum additional piece of kit you’ll need with any starter kit.
- 1-2 pots with a capacity of 2-3 gallons (one to hold sparge water where necessary.
- a colander or sieve for straining grains
- a long stirring spoon
- 10-12 bottles (unless provided in the kit)
- a funnel
- cleaning equipment (clean sponge, mop and bucket, etc.)
- additional fridge with a range of 55°F – 70°F (13-21°C) if brewing in summer.
Splitting a 5-gallon recipe kit into multiple brew days
In some cases you may only be able to source a conventional 5-gallon kit, perhaps that’s all they have in the local brew shop or you saw some kits on offer in the local supermarket. That’s fine until you realize that you don’t have the capacity in your fermenter or brew kettle for 5 + gallons of wort/beer.
So, one option is to separate your 5-gallon recipe kit into 5 individual batches. This can easily be done with a decent kitchen scale and by measuring out a fifth of the total of your grain bill and hops bill (you may need a sharp knife to cut up your hops). Then you just need to account for 1/5 of the quantity of the recommended amount of water as per your recipe instructions.
The only difficult thing is to calculate a fifth of the yeast you are provided with. So, in this case, I would say it’s easier to buy 4 additional packets of dry yeast and to pitch each smaller batch of the original kit with an entire yeast packet to itself. Don’t worry, this won’t affect the fermentation process as the yeast will only remain viable for as long as its food lasts.
How many gallons of water does it take to make one gallon of beer?
The quantity of water you need to use really depends on the process of brewing you’ll be using as well as the boil-loss rate for your set up. If you are using an extract-based kit with no need for mashing or lautering, you’ll need a lot less water. Also, doing a BIAB will involve less reserve sparge water than conventional all-grain brewing. So, as a general rule, one gallon of beer requires 2-3 gallons of water during the entire process. For more information about how to calculate the exact amount of water you need in brewing, see my article on that topic here.