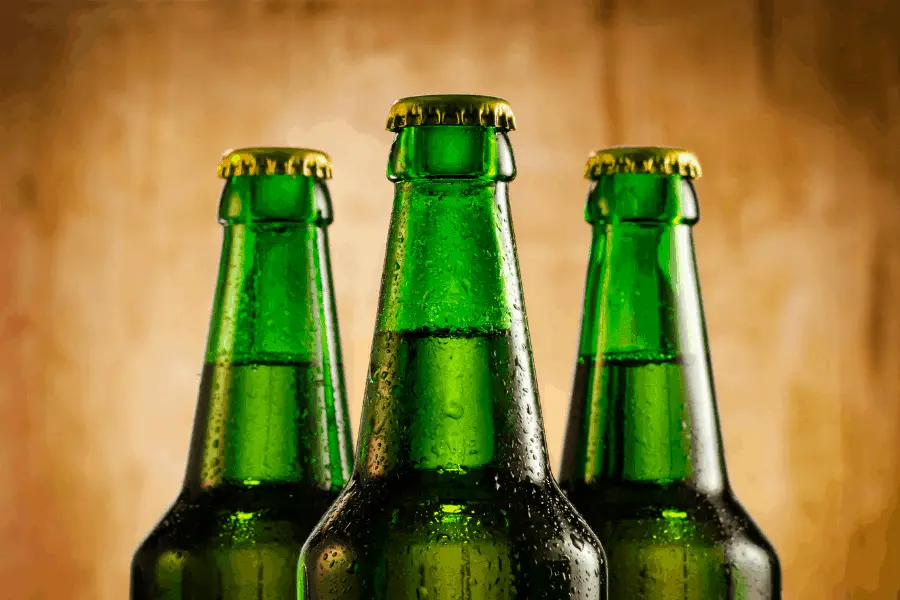
The question of headspace—how much room to leave between your beer and the airlock/opening of your bottle—comes up a lot in homebrewing conversations.
There’s a lot of talk out there about headspace during fermentation, but what I really want to discuss in this article is the appropriate amount of headspace when bottling homebrewed beer.
Too much or too little headspace in our bottles can leave us with less than stellar results, to say the least!
When bottling beer, leaving 1 to 1 ½ inches of headspace is the standard practice. Headspace aids in preventing oxidation and exploding bottles due to unreleased C02 pressure, though too much headspace may result in off-flavors. Bottling wands can be used to ensure equal headspace among bottles.
Now, before you rush off and spend the rest of your day bottling your latest creation, there is more to say.
What I want to do is to go over all the reasons for leaving the perfect amount of headspace in your bottled beer. That way you’ll produce perfectly bottle conditioned beer instead of nasty tasting potential bottle bombs!
Why do you need headspace at all?
Because of C02
Carbon dioxide is going to be produced in bottled beer because the yeasts will be feeding on the priming sugars in the brew. Having adequate headspace allows the gas somewhere to go.
If you don’t have this space for the CO2 to expand into, it will start testing the strength of your bottle, which can lead to a couple of hours cleaning up shattered glass and beer
To create a barrier
The second reason for headspace is that you’re going to want a barrier between the air and your beer to prevent oxidation and the resulting funky off-flavors. Think of the headspace as a kind of “blanket” or barrier layer.
Interestingly, I’ve been hearing some naysayers on the “blanket” explanation for headspace, but for me and the majority of homebrewers, it’s a no-brainer: headspace helps prevent oxidation.
New to homebrewing? Please feel free to read my ultimate guide to brewing beer at home and where to start.
What happens if you leave too much headspace in a beer bottle?

Although we definitely need headspace in our bottled beer, there is such a thing as too much.
Bad flavor
The main problem of too much headspace is a foul flavor, and I do mean foul—think cardboard!
Why does this happen? Yeast use the oxygen in the bottle (meaning carbonation speeds up with bigger headspace), and any leftover oxygen results in too much air and makes your beer taste terrible.
You may meet some homebrewers who purposely leave more headspace occasionally to take advantage of that faster carbonation effect. In that case, they’re careful to open the beer earlier than normal, before any of that leftover oxygen has time to cause oxidization.
More bottles
Another problem with having more headspace than needed is simply that you’ll end up needing more bottles since you’re underfilling them.
This makes the bottling day longer, and who wants that? You’ve got to clean those bottles, too, which can take eons if you’ve got a ton of them.
Speaking of cleaning bottles: it’s an unavoidable part of homebrewing, anyway, so check out this article I’ve written on how to get the job done more quickly. You’ll thank me!
What happens if you leave too little headspace in a beer bottle?
Too little headspace can have messy results at best and dangerous ones at worst.
Gush
What will probably happen is that it leads to a gushing beer when you open it. Hey, it happens.
Other causes of this are not allowing the beer enough time to fully ferment, meaning that the yeast is presented with a feast of sugars in the bottling phases and really go to town producing more CO2 than expected.
Another cause is simply not having clean bottles. If there is any residue yeast left over from a previous beer, then you can get gushing results.
Boom
If you also happened to overcarbonate the beer (which could occur for various reasons, e.g. too much sugar), you may be looking at a bottle bomb.
Few sounds are more soul-crushing to a homebrewer than the tell-tale pop and shatter of an exploding beer bottle. But often it’s just a painful discovery when you next open your refrigerator or go into a storage room.
Which begs the question, if a bottle explodes and no one is there to hear it, does it still ruin your day? Yes, yes it does!
This happens when the C02 produced by the yeast consuming the sugars has nowhere to expand to.
Of course, exploding bottles occur mainly due to three reasons. Do you know what they are? Check out the article on the topic to make sure you don’t accidentally end up with bottle bombs.
If I fill up a bottle, should I pour out the beer?
If you accidentally fill a bottle to the edge of the lip, it’s best to pour the overfill directly into another bottle rather than back into the bottling bucket. There’s less risk of contamination that way since you’d only end up with two infected bottles rather than the rest of your entire batch.
Never underestimate the importance of sanitation in homebrewing!
How to get the same amount of headspace every time?
Bottling wands

If you want to save yourself a lot of time and headache regarding headspace, you may be interested in a nifty brewing gadget called a bottling wand (see Amazon).
A bottling wand is a long, thin tube with a spring valve on one end.
With one end of the wand attached to the end of a siphon tube and the spring valve end touching the bottom of your beer bottle, you can fill your bottles neatly and uniformly.
All you have to do is put in the bottling wand and tilt the bottle so that the wand is against the side of the neck. Fill the bottle up to the very top and then remove the bottling wand. With that wand removed from the beer, the proper amount of headspace will be left in the bottle. You can’t beat that for ease!
Another perk of bottling wands is the fact that they fill the bottles from the bottom to the top. This reduces splashing, which reduces aeration that can cause off-flavors.
Eyeball it
Another way to get uniform headspace when bottling is simply to use the same size bottles and judge the headspace by eye. My take on this is that with a little bit of experience and a lot of attention you can get pretty consistent, even without a bottling wand.
Another method which sort of combines the two is to use the tube from your auto-siphon to give you the right amount of headspace every time.
By placing the tube to the very bottom edge of the bottle (make sure beer can flow out), fill it to above about the right level so that when you remove the tube the difference in mass let’s the surface level drop down slightly.
Eureka!
What are the best bottles to use?
I go into the different types of bottles to use for homebrewing here, but I can tell you this right now: I don’t like very dark bottles because you can’t see through them. I like to see what’s happening with my beer (bubbles, etc.) especially when bottling.
Then again, clear bottles will let UV light in, which ends up skunking your beer. If you haven’t check out this article on light’s effects on beer (fermenting, mostly, but also bottled), do so now. It’s actually pretty interesting!
When it comes to sealing your bottle, you’ve got a few choices, the most common being crown caps and swing tops. Personally, I find swing top bottles quicker to seal, but crown caps seem to be a little more common.
You may also see oxygen barrier caps on the market, but honestly, unless you’re brewing a higher gravity beer like an imperial stout and plan to age it more than 6 months, you probably don’t need these.
How much sugar should I use when bottling beer?
This depends on the recipe and can be calculated. Be aware that too much will lead to overcarbonation and too little a lack of carbonation.
As for how to add the sugar, you can either pour it straight into the bottling bucket or add small amounts of sugar into each bottle. These are called carbonation drops (see Amazon).
In all honesty, I think I like adding sugar directly to the fermented beer in the bottling bucket as it has given me better overall consistency, whereas carbonation drops have given me better carbonation with a few extreme examples here and there.
Should I add carbonation drops before or after filling the bottle?
I put them in first as it’s easier to get the right headspace level. The level should only change a little bit as the sugar dissolves.
Make sure that you get a system in place of adding the drops, filling the bottle and capping. I’ve had many occasions when, doing this alone, I’ve had to ask myself whether or not I added a carbonation drop. It’s lead to some nasty flat surprises two or three weeks later.
So, if you can, bottle with a friend to make sure everything is done right, or do it slowly and methodically. Of course with the other method of priming your beer, you only have to add sugar once.
How much headspace in a fermenter?
Generally speaking, you want 20% of the total batch size area as headspace in a fermenter for the gases to escape and the Krausen to have enough room to rise and sink back down.
For some yeast strains this will be more than enough, for others it’ll be just the right amount of space. There are other factors involved, but generally I’ve found about 20% is right on the money.
For more detail, check out my article on fermentation headspace.
Recommended gear for bottling
Here are some key pieces of kit that you should be using to make your bottling day easier:
Swing top bottles

Go and pick up enough swing top bottles from Amazon or state buying in some German lagers or even asking friends to collect them for you. I’ve found these bottles cut down on my bottling day because they are so quick to seal.
Bottling wand

As I mentioned before, to get perfect beer levels in all your bottles, you can’t go far wrong with an inexpensive bottling wand such as this which you can get on Amazon or your local homebrew shop. It’ll save you squinty at 60 bottles each time!
Star San

If you aren’t using this no-rinse sanitizer, go and pick up a bottle at the local homebrewing shop today. If it’s not open, you can even grab a bottle on Amazon and get it delivered to your front door. It’ll save you so much time when it comes to sanitizing your bottles and equipment.
Bottle brushes

If like me, you like to recycle beer bottles for home brewing, you have to make sure they are pristine inside. Any organic matter leftover can really mess with your beer. Grab something like this from wherever you can get it to make sure those bottles are really clean inside.


