
Cooling wort down naturally was the only way to perform this crucial task for centuries. Our forebearers had no choice other than to leave wort to cool down overnight.
Today, modern homebrewers have an assortment of kit to help them cool their wort down quickly, but should we dismiss the ancient methods so quickly?
When cooling your wort down overnight it’s essential that you use a heat-resistant fermenter which is airtight. Cooling wort down naturally over several hours has many economical, ecological and practical advantages from a need for less equipment to using fewer resources. There are also some risks.
Although leaving your wort to cool down naturally is still a valid method, there are several things you need to be in control of to avert disaster. I’ve gone through each of these ideas below, so read on for more tips and advice on cooling your wort down overnight.
Why cool your wort down?
Cooling down your wort is a very important task between your boil and pitching your yeast. If you don’t reduce the temperature of your wort to the perfect range for your yeast, you could effectively kill it.
Having the optimal temperature (usually below 70°F/21°C) helps ensure better growth and activity of the yeast cells present in your wort.
The reason why brewers are so concerned with cooling wort down quickly is that when the temperature of your brew drops the risk of it becoming contaminated rises. A contaminated beer can taste terrible and it can be as simple as leaving your wort exposed to bacteria at the wrong, or right, temperature. If you are getting beer that consistently tastes off or of vinegar, check out my article on how to fix it here.
Another reason that many brewers use special pieces of equipment called wort chillers to cool down their wort is because of the time they save. With the right type of wort chiller, you can reduce the temperature of your wort from boiling to just 70°F (21°C) in 5-20 minutes compared to several hours. If you are interested in finding out more about the best type of wort chiller for your home brewery check out my article on wort chillers here.
When to choose overnight cooling
Overnight cooling of your wort is best when the ambient temperature of your brewery or storage area is the same or lower than your target pitching temperature. Remember that it’s physically impossible to cool a liquid to a temperature lower than the air around it (as far as I recall from science class!).
So, this isn’t the best option if, like me, you live in a country where the summer midnight temperature can be in the high 70s or low 80s (25-30°C). However, even this doesn’t mean you can’t opt for overnight cooling.

If you live in a hot region then you can easily cool your wort in a refrigerator, assuming you can set the temperature to the ideal level for pitching. This could also give you an added barrier to the possibility of bacterial infection as a closed cooling space may be less risky than your spare room.
How to cool wort overnight
There are two main approaches you can take to cool your wort overnight in a more natural way, either by leaving it in your brew kettle or by racking it directly into your fermenting vessel while still hot. In my opinion, the second option is far less risky in terms of potential contamination.
If you want to cool your wort in the brew kettle itself, then I really recommend that you try to seal it up with something like aluminum foil or kitchen plastic wrap (make sure it isn’t the type which melts!).
Even if you have a custom lid for your brew kettle, still wrap it up to try and limit as much air from getting in as possible. Then place the brew kettle in your refrigerator to cool, even if it’s not switched on. I really don’t recommend you leave the brew kettle exposed to the elements while cooling.
However, this isn’t really the most ecological or economical way to do this as when you place hot items in a refrigerator to cool it has to work that much harder to maintain its low temperature, using a lot more energy into the bargain.
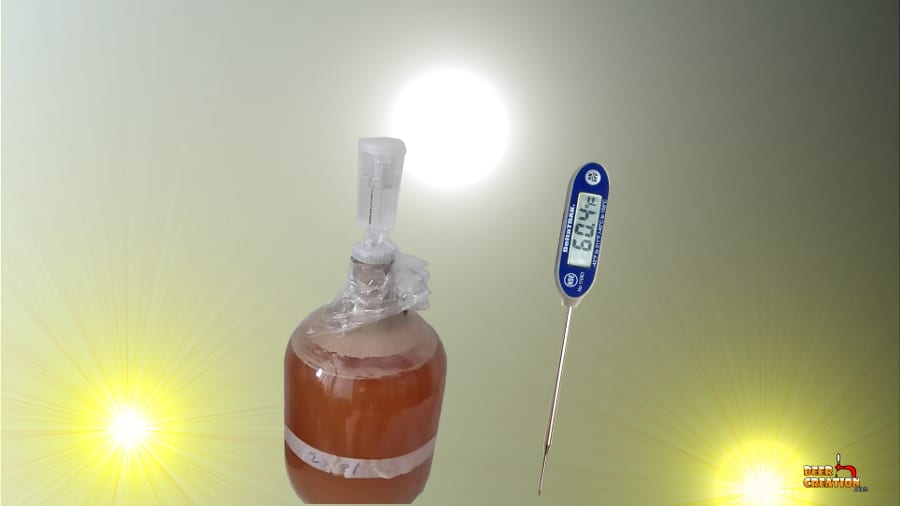
By far the best option is to rack your wort directly into your fermenting vessel, even though hot, and then seal it up tight with a bung and airlock. Although you don’t need the airlock right now, it’ll plug up the smaller hole in the bung. It’ll also give any pressurized water vapor a safe way to exit the fermenter.
New to homebrewing? Please feel free to read my ultimate guide to brewing beer at home and where to start.
Benefits of cooling wort overnight
There are several benefits to opting for overnight cooling, both economical and environmental as well as it being less labor-intensive.
Economical benefits
The obvious advantage of taking an overnight cooling approach is that you don’t need to invest in any wort chilling equipment. This is, of course, assuming that it’s cold enough in your brewery to reduce the wort to the ideal temperature.
If not, then you’ll have to pay some costs for the energy needed to cool wort in a refrigerator, which may actually add up to be more than the price of a good wort chiller over time.

However, in a perfect world, this is a totally free method to cool your wort and won’t have too much of an impact on your wallet when done under the right conditions.
Environmental benefits
For me, this is the most compelling reason to cool your wort overnight. Every type of wort chiller, whether it’s an immersion, counterflow or plate chiller needs water as its main coolant. Most wort chillers will waste anywhere from 1 to 10 gallons (3.78 l – 37.85 l) of water a minute depending on your mains water flow rate.
This is a terrifying waste of such a precious resource and not using a wort chiller obviously sidesteps the need to use so much water. Of course, another way to use a wort chiller more ecologically is to use a recirculation system powered by a pump. If you want to find out more about this, check out my article on the best pumps to use for this method of wort cooling.
Labor-saving benefits
Although a good wort chiller can cool down your wort in as little as 5 minutes, you still need to set it up, supervise the process and clean the equipment later on. If you are using either a counterflow or plate chiller, the clean up can take a fair bit of time. If you are actually using an immersion wort chiller, you may even need to physically stir the wort to help the chiller to work more effectively.
When you cool your wort overnight you simply don’t need to worry about any of the tasks I’ve mentioned above, you literally rack it into your fermenter and let it cool down all by itself. OK, you will have to wait a lot longer than 5 minutes, but you’ll save a lot more time in not having to clean up after your wort chiller.
Risks of cooling wort overnight
There are two main risks that I can think of that you may face when you cool your wort down over several hours rather than several minutes.
Firstly, you are at risk of introducing some form of contaminate into your wort before you are able to pitch your yeast. The reason why this risk goes down once the yeast has been added to your wort is that even early fermentation can prevent bacteria from replicating; it’s all down to the alcohol content of the beer as it ferments.
Waiting a couple of hours up to a full day just puts your wort at increasing risk of being contaminated, which really is something to be worried about.
Secondly, there is a real risk of leaching chemicals into your wort when using plastic fermenting vessels or even breaking the fermenter altogether if using a glass carboy.
Chemicals being leached into your wort is really a concern for anyone who is using a repurposed container for their fermentation. For example, I recently liberated a couple of plastic disposable beer kegs from a recent beer festival I attended.

Although I’m sure the plastic bag lining is 100% food-grade, I had to do a lot of research to find out if the PET shell was also food grade. It’s essential to ensure that you are using the right type of plastic as hot temperature and ethanol can induce chemical leakage into your wort or beer.
When talking about glass carboys, you should probably test it out to see if it can withstand boiling liquid without breaking. Although you won’t get chemical leakage when using glass, it can shatter if exposed to rapidly different temperatures. So it’s better to test it with water than precious wort you’ve been slaving over all day to produce.
Delayed Pitching: How long is too long?
As a general rule, you want to pitch your wort as soon as it’s cool enough to do so. However, sometimes delays happen.
I would suggest that when using a packet of dry or liquid yeast, you wait no longer than 48 hours to pitch it. This is especially true if you aren’t storing your waiting wort in a totally airtight container.
However, let’s not forget that a yeast starter can, in theory, last for several weeks, so if you are waiting for your yeast to really develop and become more viable so that you can get the most efficient fermentation, waiting for several days wouldn’t be unreasonable.
This being said, I would get very itchy waiting to pitch my wort after 3 or 4 days and very concerned after a week. Therefore, I’d still say don’t wait to pitch your yeast for longer than 48 hours after brew day for the average brewer.
Open-air cooling
For many centuries, so I’ve read, this was the norm. Wort would be left to the open air in designed specially troughs in specially built sheds. However, this was for the express purpose of cooling them and extracting wild yeast cultures from the very air itself. So, as a modern brewer who has access to specialist yeast, you simply don’t need to do this. Also, for most batches of wort, you are more likely to get something rather nasty in your wort than any helpful boost from the ambient air.
This being said, it’s kind of a cool way to make beer and if you are interested, there is a great video from Norther Brewer on how to do it.
Alternative ways to cool wort
Although we have been talking about cooling wort overnight as a way not to use a wort chiller, there are other methods you can try as well as combinations of several methods to chill your wort.
I’ve gone into a lot more detail about these different methods as well as ways to reduce the cost of setting up your home brewing system in my article here.